To collect quality data with your QCM instrument, it is important to pay careful attention to the entire process of measurement preparation, setup, and execution. Interested to learn more about the best practice procedures, I talked to my colleague, Jennie Ringberg, Technical product manager for QSense. Jennie divides the preparation and execution process into five steps. In this post I share what I learned about step one - the sensor preparation.
To optimize your QCM experiment, and to get the most out of your measurement in terms of data quality and reproducibility, there are several aspects to pay attention to. The measurement setup and execution could be divided into five steps:
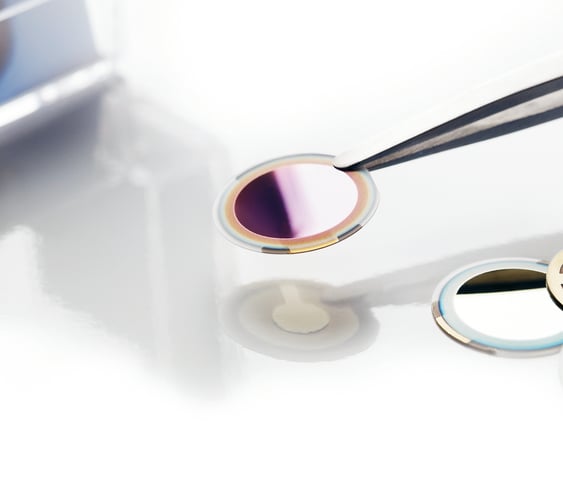
In the sensor preparation step, there are a few things to consider, Jennie says. And I would really like to emphasize that this is really crucial, since the sensor is the heart of the technology, she continues. The QCM sensor is the center of it all.
The first thing you need to consider is of course what sensor surface that is relevant for your study, Jennie says. I.e., what material is it that would like to mimic? There are two different scenarios. Either the sensor itself is the signal reporter, so to speak, or a layer on top of the sensor is the signal reporter. If a surface-adhering layer is the signal reporter, the sensor material may not be crucial as long as you are able to deposit that layer on the surface. Let’s say for example that you are interested in a molecule binding to a cell membrane. Ideally you would then have the cell membrane on the sensor, but if that’s not possible, you could use a cell membrane mimic and deposit a lipid bilayer on sensor, Jennie says.

Another aspect to consider is what solutions that you will be using, Jennie continues. It is important to make sure that the sensor coating is compatible with the solvents and samples that you plane to use. Maybe the solution that you have planned to use will change the properties of the surface in a way that you have not intended, and all interactions or changes of the sensor surface will show in the measured signals. So, it is important to make sure the sensor surface material and the solvent that you plan to use are compatible, Jennie says.
Another aspect that is really, really important is sensor cleanliness. You must start with clean sensors, Jennie stresses. QCM-D is such a sensitive technology. This is of course one of its key strengths, but it can also make it a challenging technology to work with since it will sense all contaminants which unintentionally interact with the sensor surface. So, it’s critical that everything is clean and that you don’t introduce any contaminants in any of the steps, and it starts with clean sensors, Jennie says.
So, what does ‘clean’ mean? In this context, we may be referring to a level of cleanliness which is stricter than what you work with normally, Jennie says. When you get the sensors shipped from us, they are of course clean in the sense that they have not been exposed to any samples etc., but still they have been stored in a box in air maybe for a couple of weeks before you get them. And already there you might have contaminants from the air, such as dust and hydrocarbons. Those kinds of contaminants also need to be removed before you start your experiment to make sure that you get a high reproducibility, Jennie continues.
To remove these kinds of ‘dirt’ and contaminants from the air exposure, it is important to do a sensor precleaning before you start then measurement, Jennie explains. There are different cleaning-protocols available which we have evaluated and which we recommend for different sensors. These protocols are developed specifically for the different coatings to make sure the contaminants are removed while still not damaging the sensor surface. These cleaning protocols can be found in the product information sheet for the different sensors, and there is also a document available with all these suggested protocols collected, she says.
As an example, if you are working with gold sensors, the standard recommendation would be a UV – ozone step, followed by a wash with ammonia and hydrogen peroxide mix that you heat. Then after rinsing and drying the sensor you can again put it in the UV ozone chamber, Jennie says. This is one of the standard protocols. Another protocol, which could be useful for the silica sensor for instance, especially if you are working with proteins or lipids, is soaking in 2% SDS solution and also include UV ozone steps before and after the soaking.
These are two examples of pre-cleaning protocols. So, these are cleaning protocols that are tailored to the specific sensor coating material.
Listen to the interview with Jennie to learn more about aspects to consider and pitfalls to avoid in the sensor preparation and the other four steps involved in the QCM-D measurement preparation, setup, and execution.

Malin graduated in engineering physics in 2006, where her research focused on the QCM-D technology. Since then, she has been scrutinizing the how’s and why’s of the world in general, and the world of QCM-D in particular.