To collect high-quality QCM-D data, it is important to pay careful attention to the entire process of measurement preparation, setup, and execution.
To learn more about the best practice procedures, I interviewed my colleague, Jennie Ringberg, Technical product manager for QSense. Jennie described the five steps of QCM-D measurement preparation and execution. In this post I share what I learned about step 5 – After measurement.
QCM-D Measurement setup and execution in five steps
To get the most out of your QCM-D measurement in terms of data quality and reproducibility, there are several aspects to pay attention to. The measurement setup and execution could be divided into five steps:
- Sensor preparation
- Preparation of sample liquids
- Measurement setup
- Running the experiment
- After measurement
In previous blogposts, we have talked about steps 1-4, i.e., sensor preparation, preparation of sample liquids, setting up the measurement, and running the experiment. In this post, we end this series by looking at step five and what is important to consider after the measurement execution.
A. Clean the instrument and accessories after each measurement
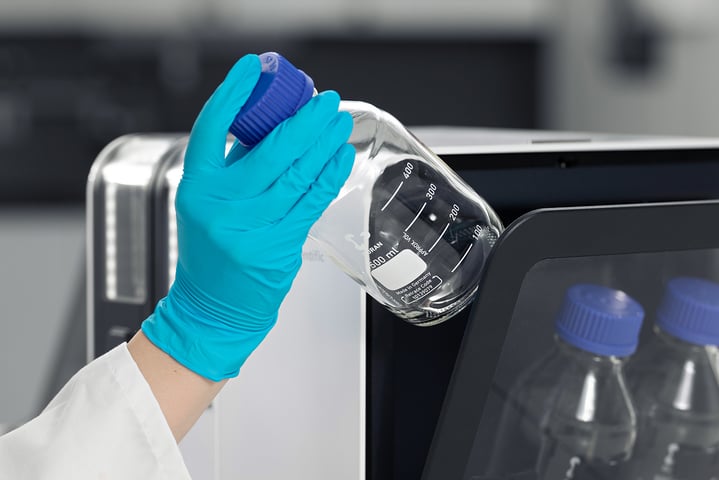
So, you have run your measurement, you have saved the data and then you may think, that is it, I am done. But now we have the fifth step, the “after measurement”, Jennie says. As already mentioned in the previous measurement preparation and execution steps, cleanliness is key. It is crucial to keep everything in contact with the sensors, samples, and solutions clean. After your measurement, you should really pay attention to the cleaning procedures so that you, or the next user, will start with a clean instrument. We do not want any sample deposits remaining in the flow path, sitting there until the next time the instrument is being used, because that would potentially have an impact on the measurement data and could ruin the experiment, Jennie says.
Use the recommended cleaning protocols
There is a list of cleaning protocols that we recommend for instrument cleaning. These protocols can be found either in the instrument user manual or in the "instrument care and sensor pre-cleaning" document. Both can be found at the support portal at the Biolin Scientific website, Jennie says.
Use a dedicated cleaning sensor
A tip when running the cleaning protocol is to use one of your old sensors, i.e., you could have a dedicated so-called “cleaning sensor” which you only use for this purpose, Jennie says. The reason to have a dedicated cleaning sensor is that some of the solutions used in the cleaning protocols can be harsh on the sensor coating and potentially affect the coating by, for example, etching. So, in order not to risk ruining any sensors that you plan to use, it is better to use a retired sensor for the instrument cleaning.
So, in brief, after you have run your measurement, you mount the dedicated cleaning sensor in the instrument and then you run the cleaning procedure; you run cleaning solution through the system according to the selected cleaning protocol, then you rinse thoroughly with deionized water to make sure the flow path is clean. Depending on which QSense instrument you are using, you might need to dry some parts after the thorough rinse, for example if you are working with the flow modules in the Explorer or Analyzer, Jennie says.
Clean the accessories
In addition to cleaning the instrument after your measurements you should also make sure that any related equipment, accessories, and tools that you have used, such as the tweezers, are also cleaned, Jennie says. The tweezers, for example, can be a source of contamination and they can be cleaned using the protocol that we recommend for the gold sensors.
B. Make sure the consumables are in good condition and replace as needed
Another aspect that is important to maintain a well-functioning instrument is to make sure that the O-rings and gaskets in the flow module are in good condition, Jennie says. The O-rings and gaskets are consumables, and they will age and wear with use. Over time the material will dry out and eventually there can be cracks, which can result in leakages. So, both the O-rings and gaskets should be exchanged every now and then as needed. How often they need to be changed depends on what solutions you use in your measurements and how much the instrument is being used. We do however recommend that the consumables are replaced at least annually, Jennie says.
How do you know if the O-rings and gaskets need to be replaced?
To start with, I would recommend that you always do a visual check of the consumables, Jennies says. Inspect the O-rings, maybe use a tweezer to just push it a bit to see that there are no cracks or other defects, and that it behaves normally.
If you are using the Analyzer or the Explorer, you will typically, after running the cleaning protocol, take the module apart, remove the sensor and the O-ring. This is then a perfect time to check that the O-ring is in good shape.
C. The instrument needs to be serviced
I would also like to mention that the system should be serviced every now and then to make sure that the good data quality is maintained, Jennie says.
So, in summary, be strict on cleanliness, exchange the consumables when needed, and service your system. Those are the three key factors to ensure good results that we want in the end for our data analysis.
Tips and tricks on how to collect quality data with QCM-D
If you want to learn more about QCM-D measurement best practice, listen to the interview with Jennie as she shares some tips and tricks in the pod episode Collecting quality data with QCM-D – what to consider and pitfalls to avoid.